Create Testing Folder
First, you need to create a new Testing folder:
- Locate the GME Browser window.
- Right-click on the RootFolder and select .
- Name this new folder HEBI_Daisy_Hexapod_Tutorial_Test.
Create and Run Test Bench
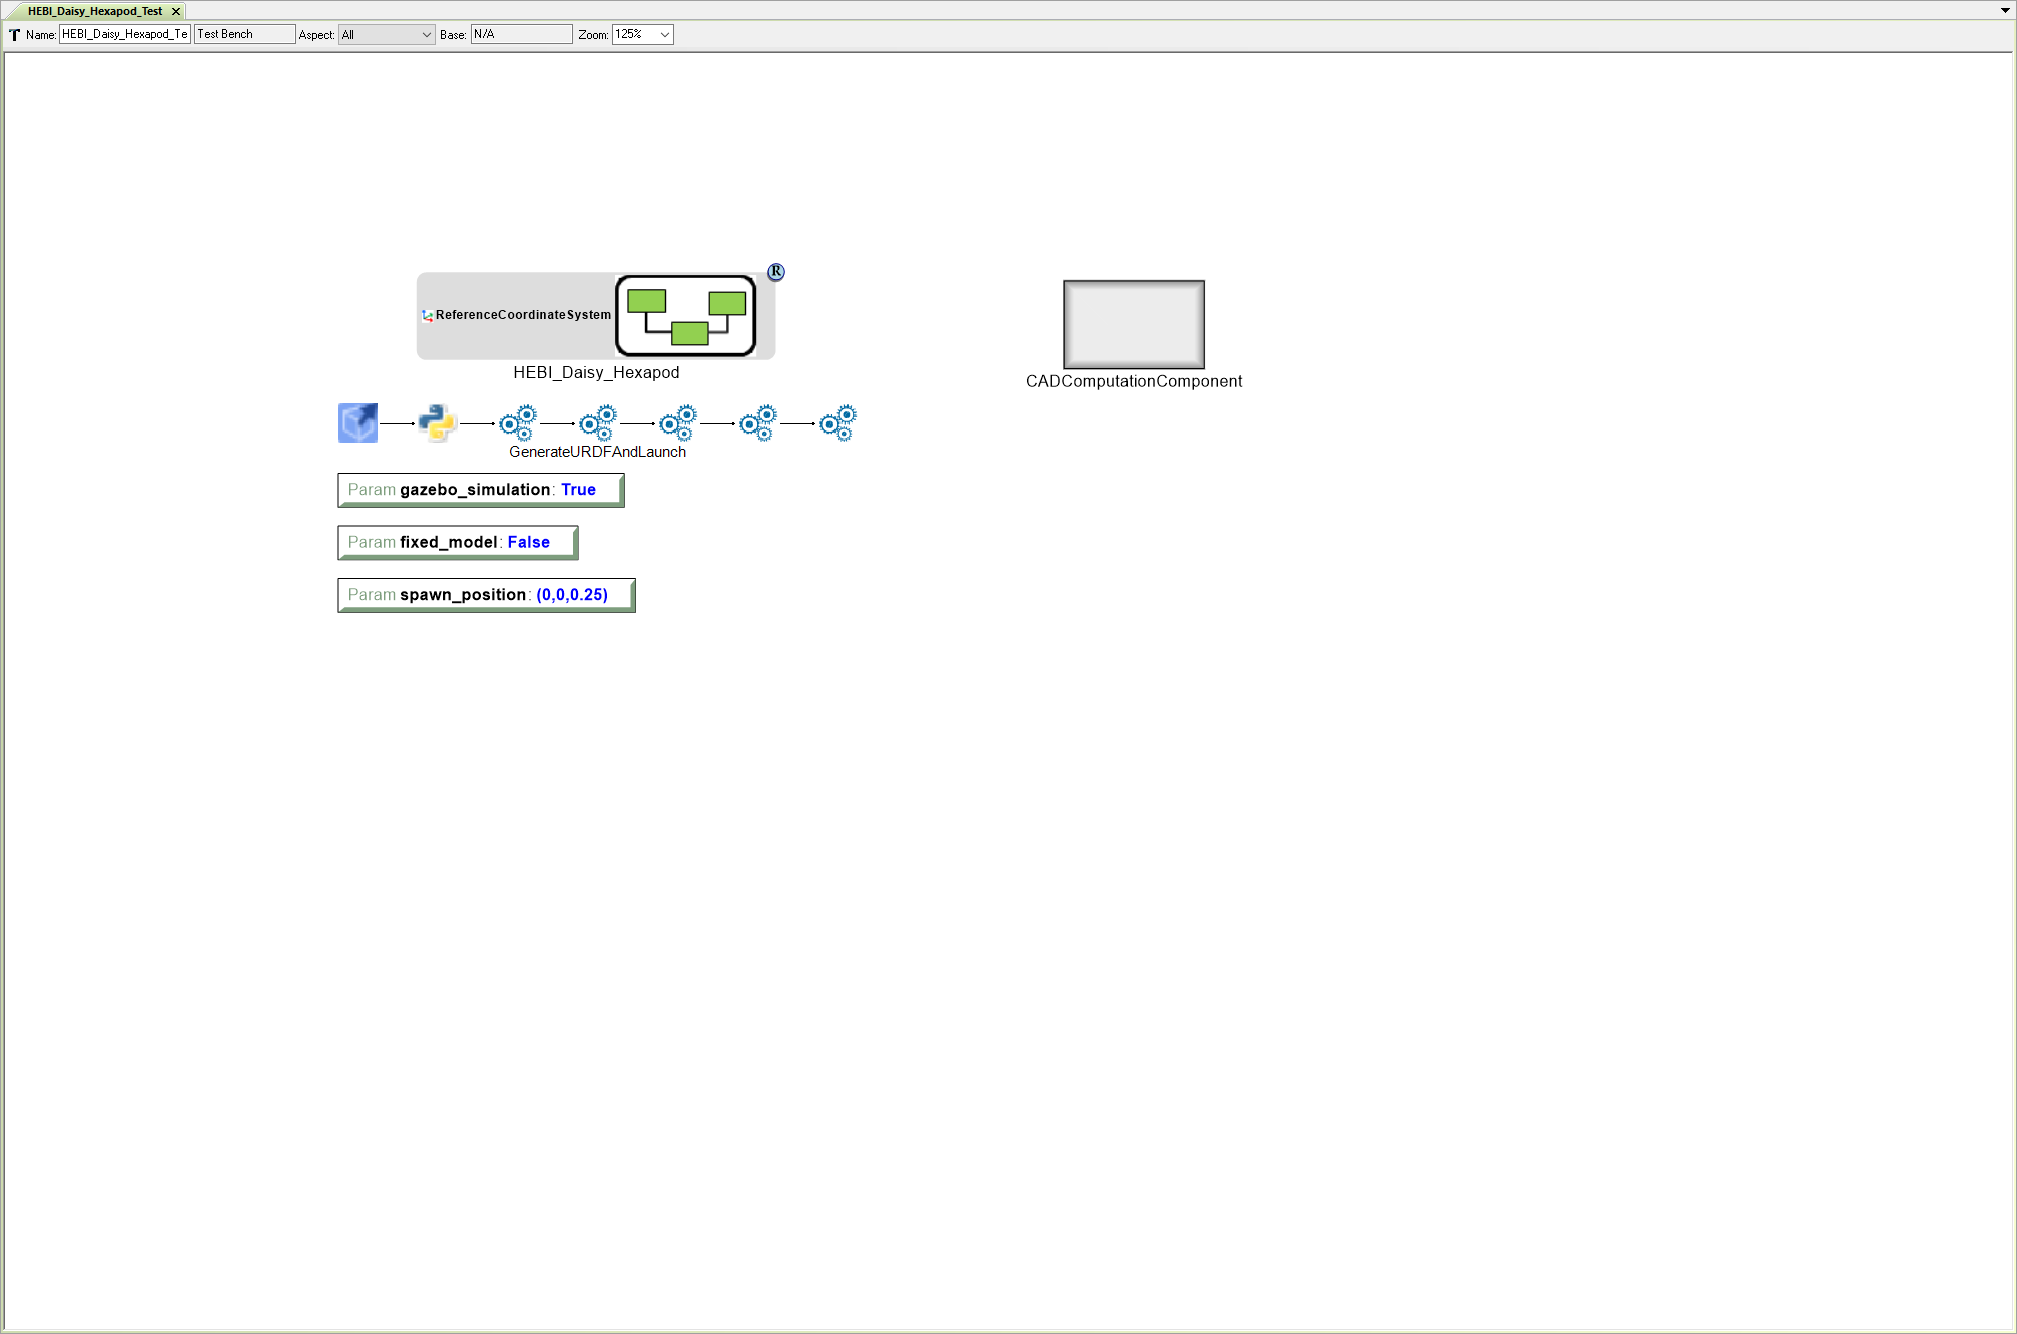
In order to generate runtime artifacts from this model, you need to create a Test Bench containing the HEBI_Daisy_Hexapod Component Assembly.
- Locate the GME Browser window.
- Right-click on the HEBI_Daisy_Hexapod_Tutorial_Test Testing folder and select .
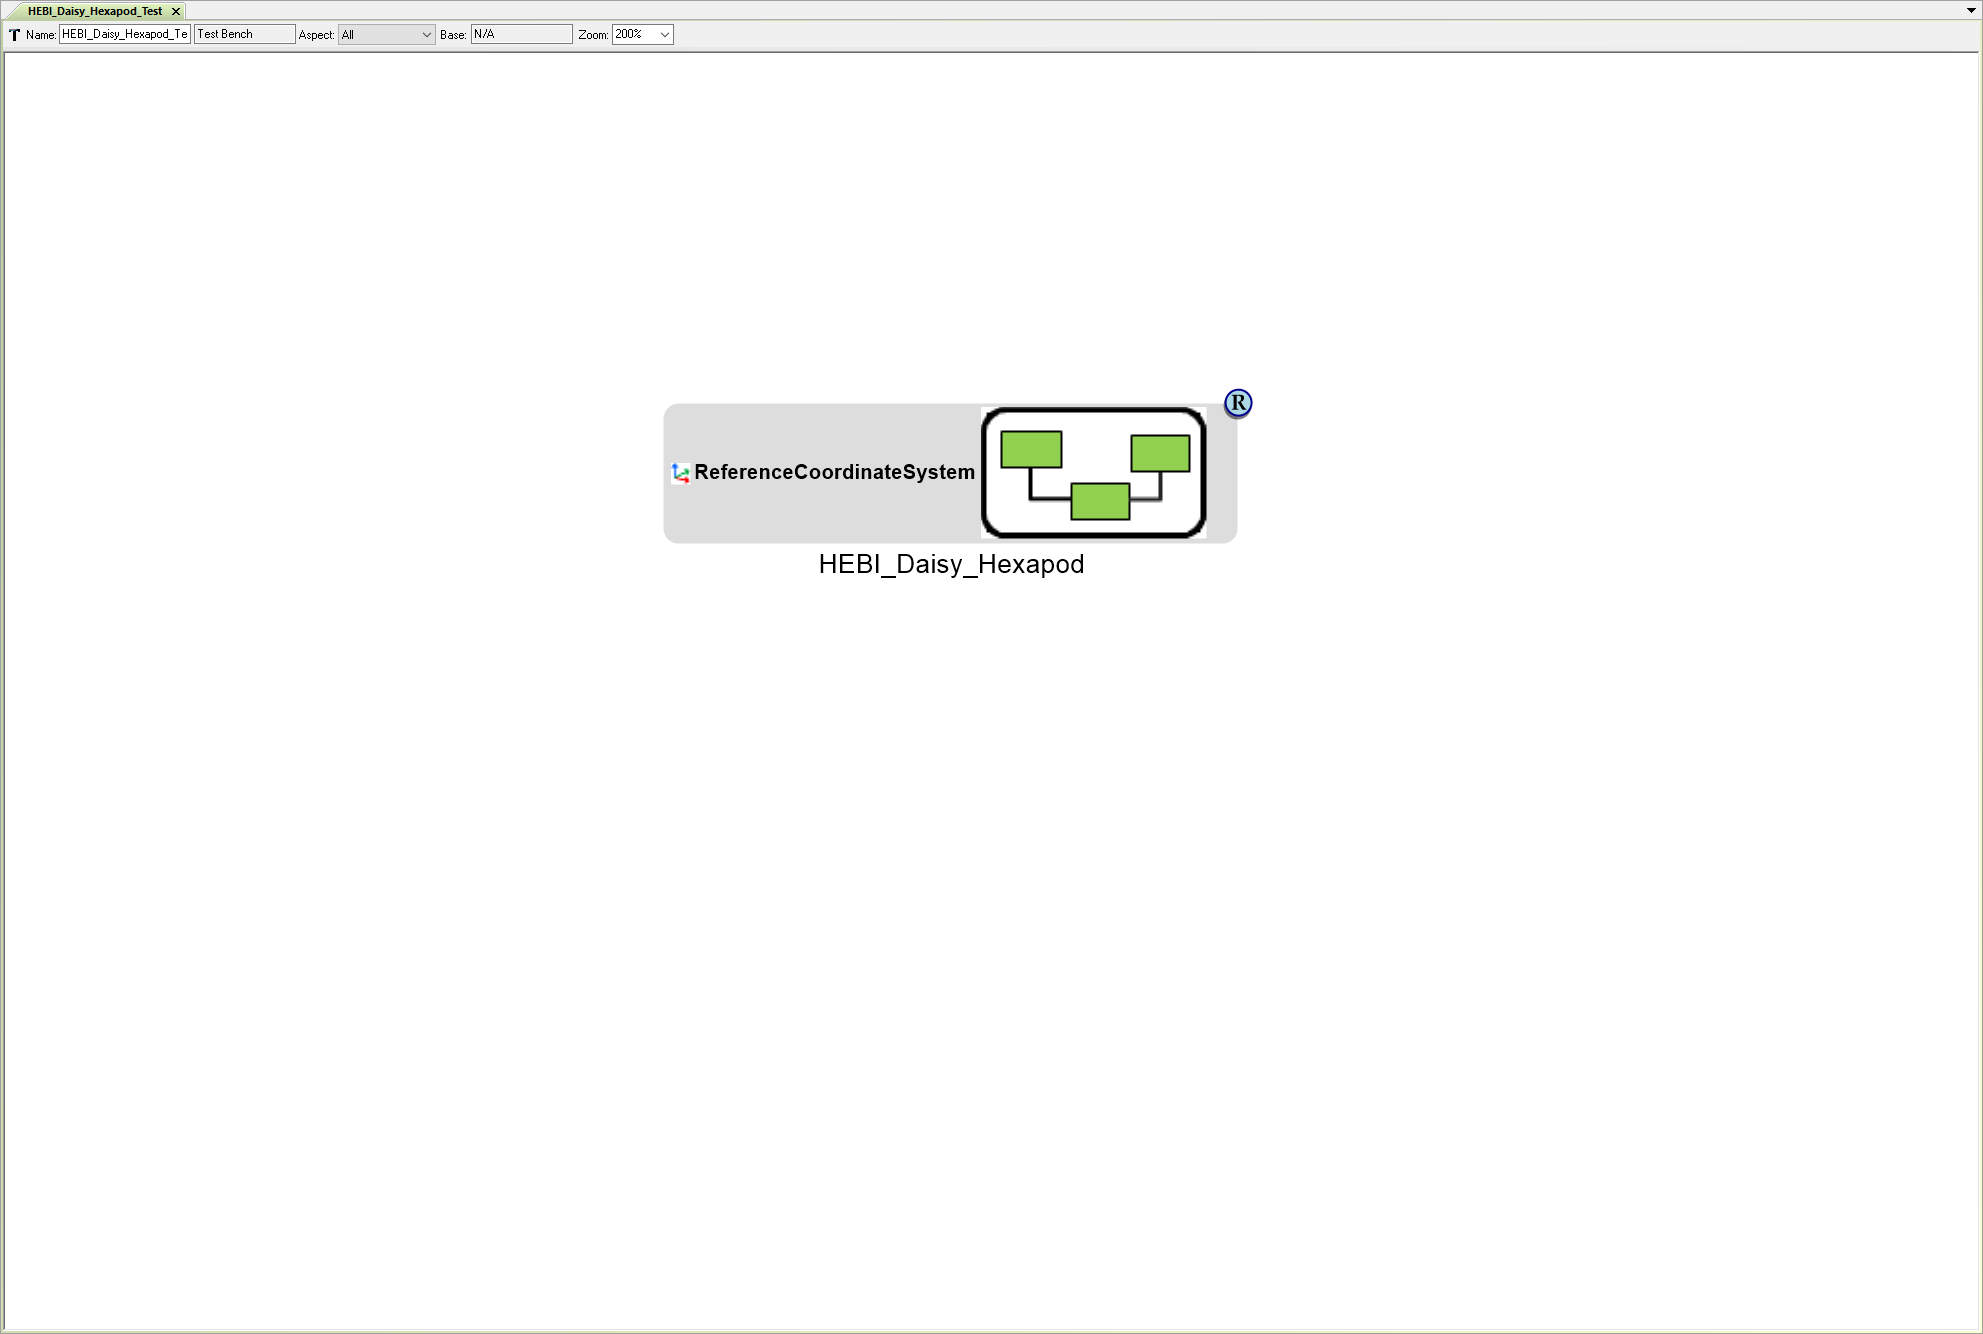
- Name this new Test Bench HEBI_Daisy_Hexapod_Test.
- Double left-click the new HEBI_Daisy_Hexapod_Test Test Bench to open its canvas.
Add HEBI_Daisy_Hexapod Component Assembly
Locate the GME Browser window.
Right-click on the RootFolder > HEBI_Daisy_Hexapod_Tutorial_Test > HEBI_Daisy_Hexapod_Asm Component Assembly and select .
Inside the HEBI_Daisy_Hexapod_Test Test Bench canvas, right-click and select .
The Select Reference Role Type window will appear. Select TopLevelSystemUnderTest and then OK
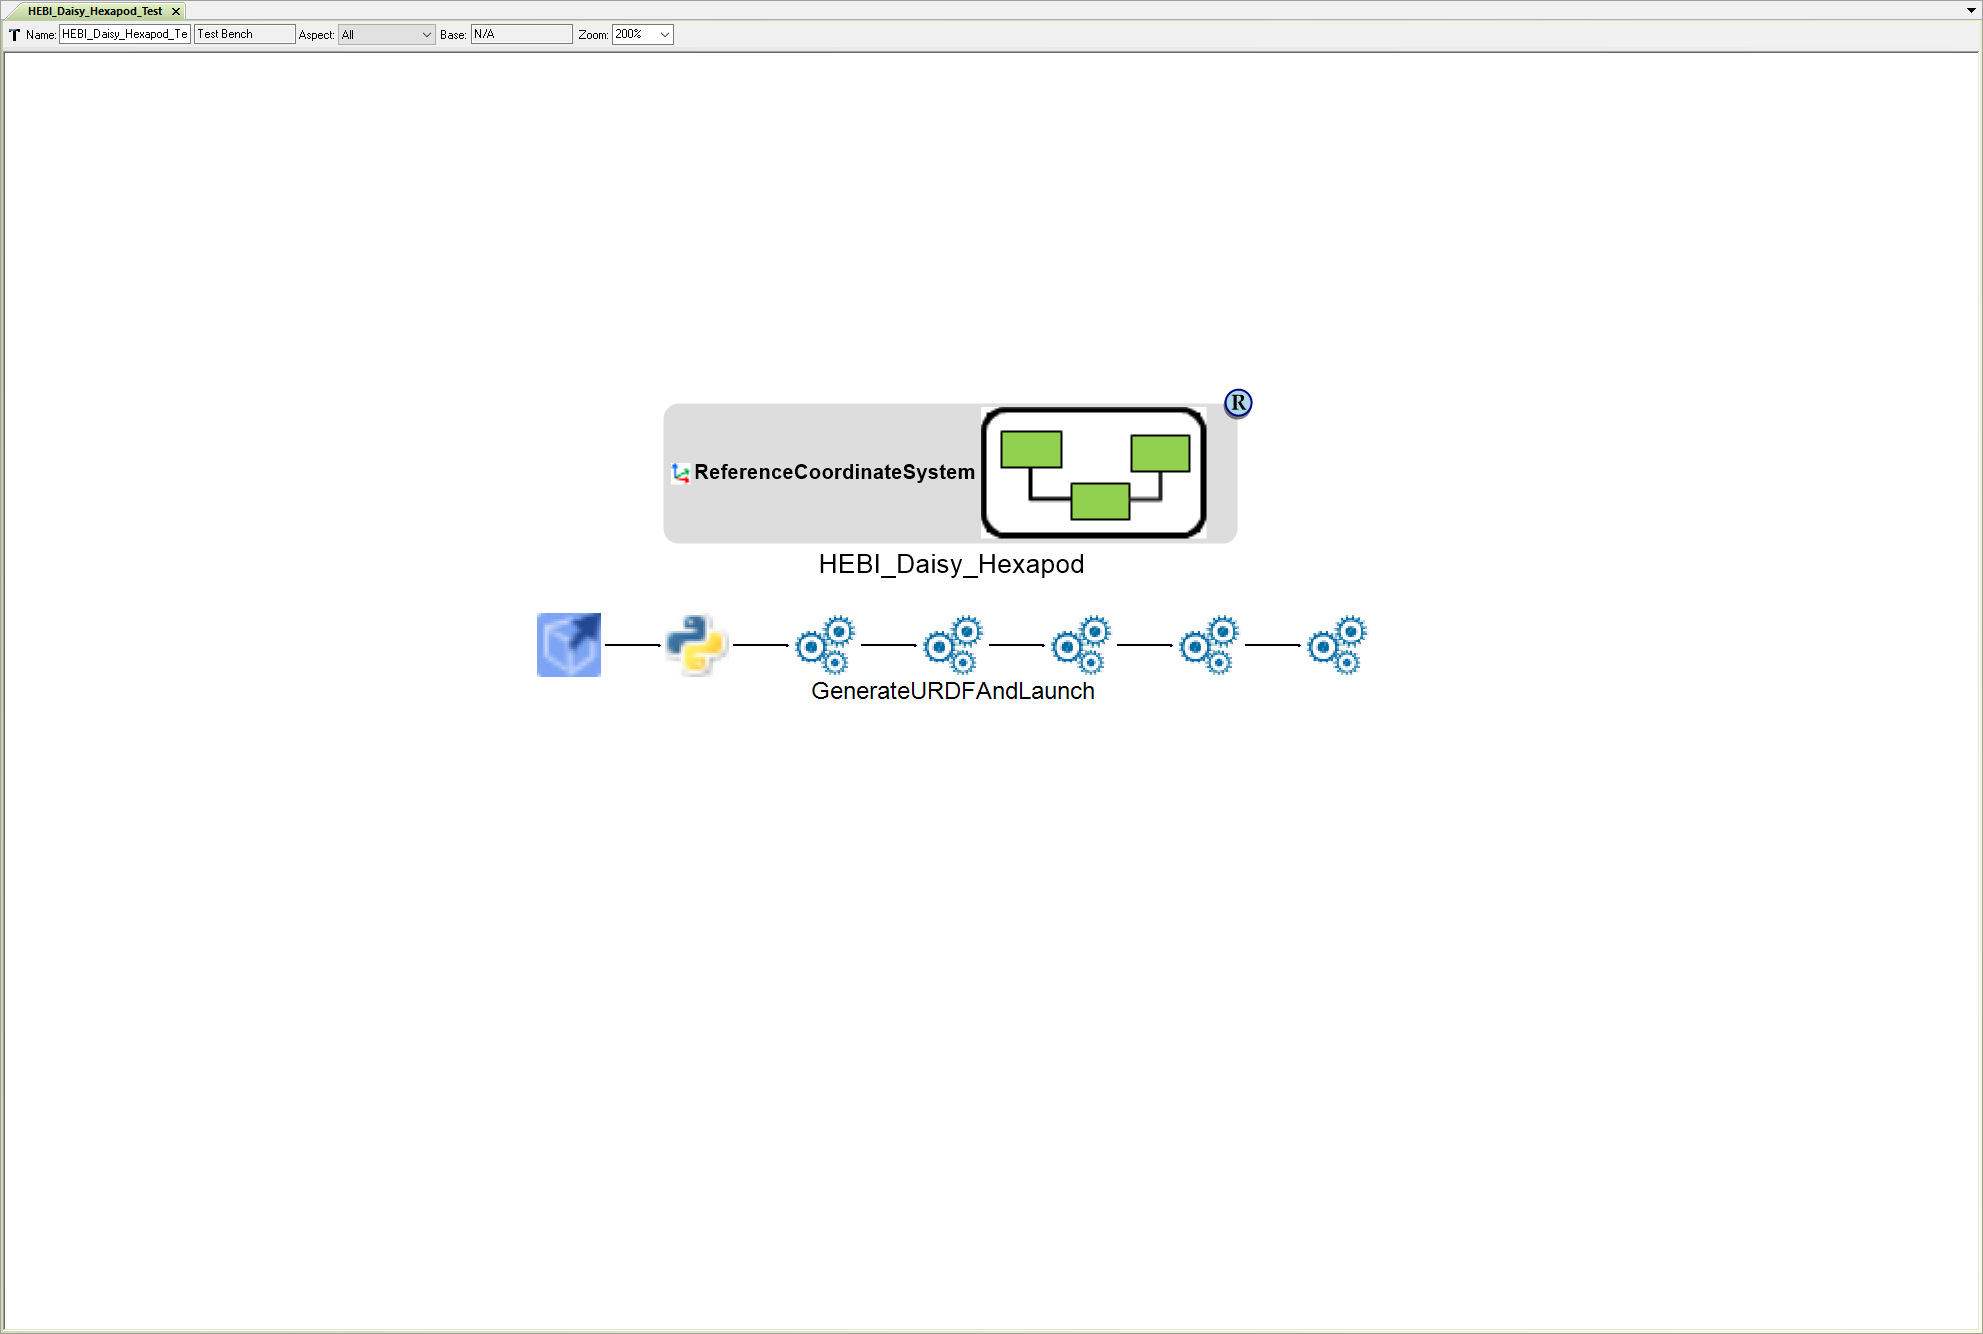
Add Workflow
Now you need to add a workflow. Workflows are groups of defined executables and scripts that interpret the model, generate artifacts, and(or) run other programs as needed.
For this tutorial, you will be adding the GenerateURDFAndLaunch Workflow which is already included in the Testing directory.
Locate the GME Browser window.
Right-click on the RootFolder > Testing > WorkflowDefinitions > GenerateURDFAndLaunch Workflow and select .
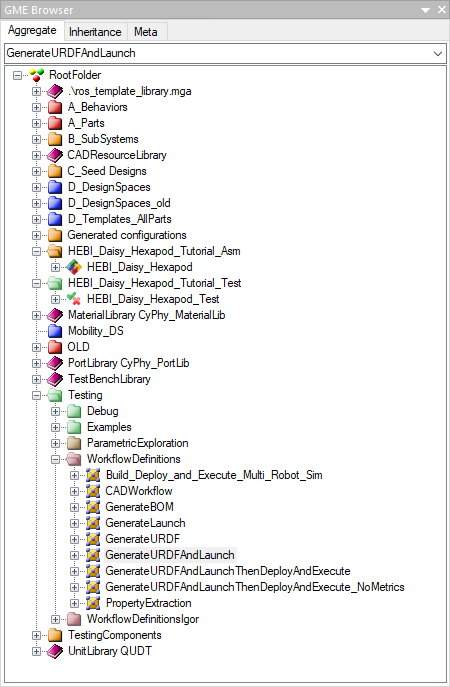
Inside the HEBI_Daisy_Hexapod_Test Test Bench canvas, right-click and select .
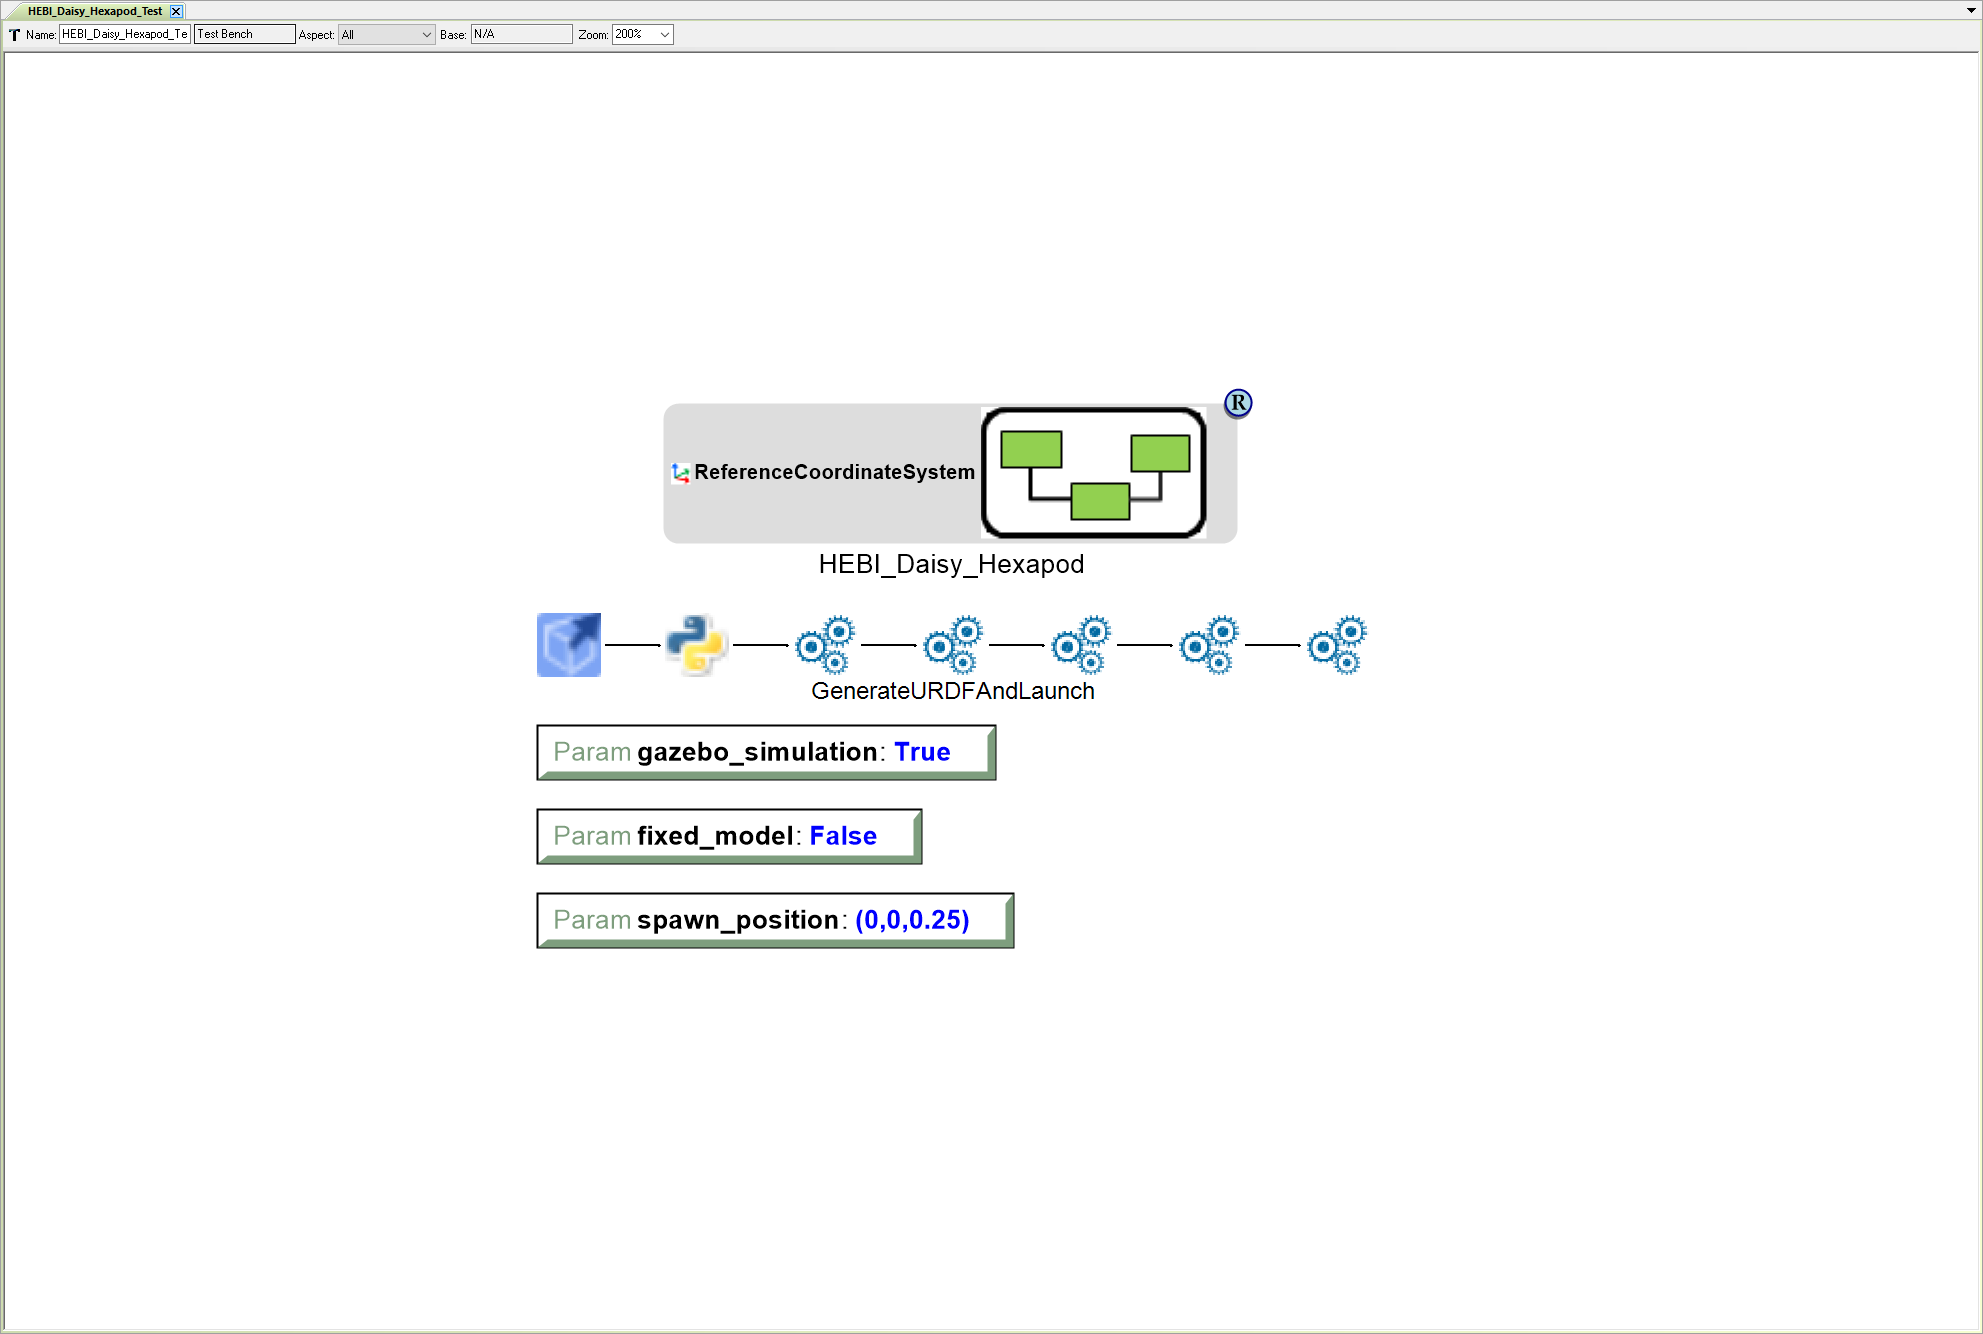
Add Test Bench Parameters
Finally, you need to configure the Test Bench via a few Parameters.
Right-click within the HEBI_Daisy_Hexapod_Test Test Bench canvas and select .
Name the Parameter gazebo_simulation and set its Value to True
Right-click within the HEBI_Daisy_Hexapod_Test Test Bench canvas and select .
Name the Parameter fixed_model and set its Value to False
Right-click within the HEBI_Daisy_Hexapod_Test Test Bench canvas and select .
Name the Parameter spawn_position and set its Value to (0,0,0.25).
Add CADComputationComponent and Parameters
Locate the Part Browser window. If it is not visible, make sure the option is ticked.
Within the Part Browser window, select the All filter and scroll down until you locate the CADComputationComponent.
Left-click on the CADComputationComponent icon and drag it onto the HEBI_Daisy_Hexapod_Test Test Bench canvas.
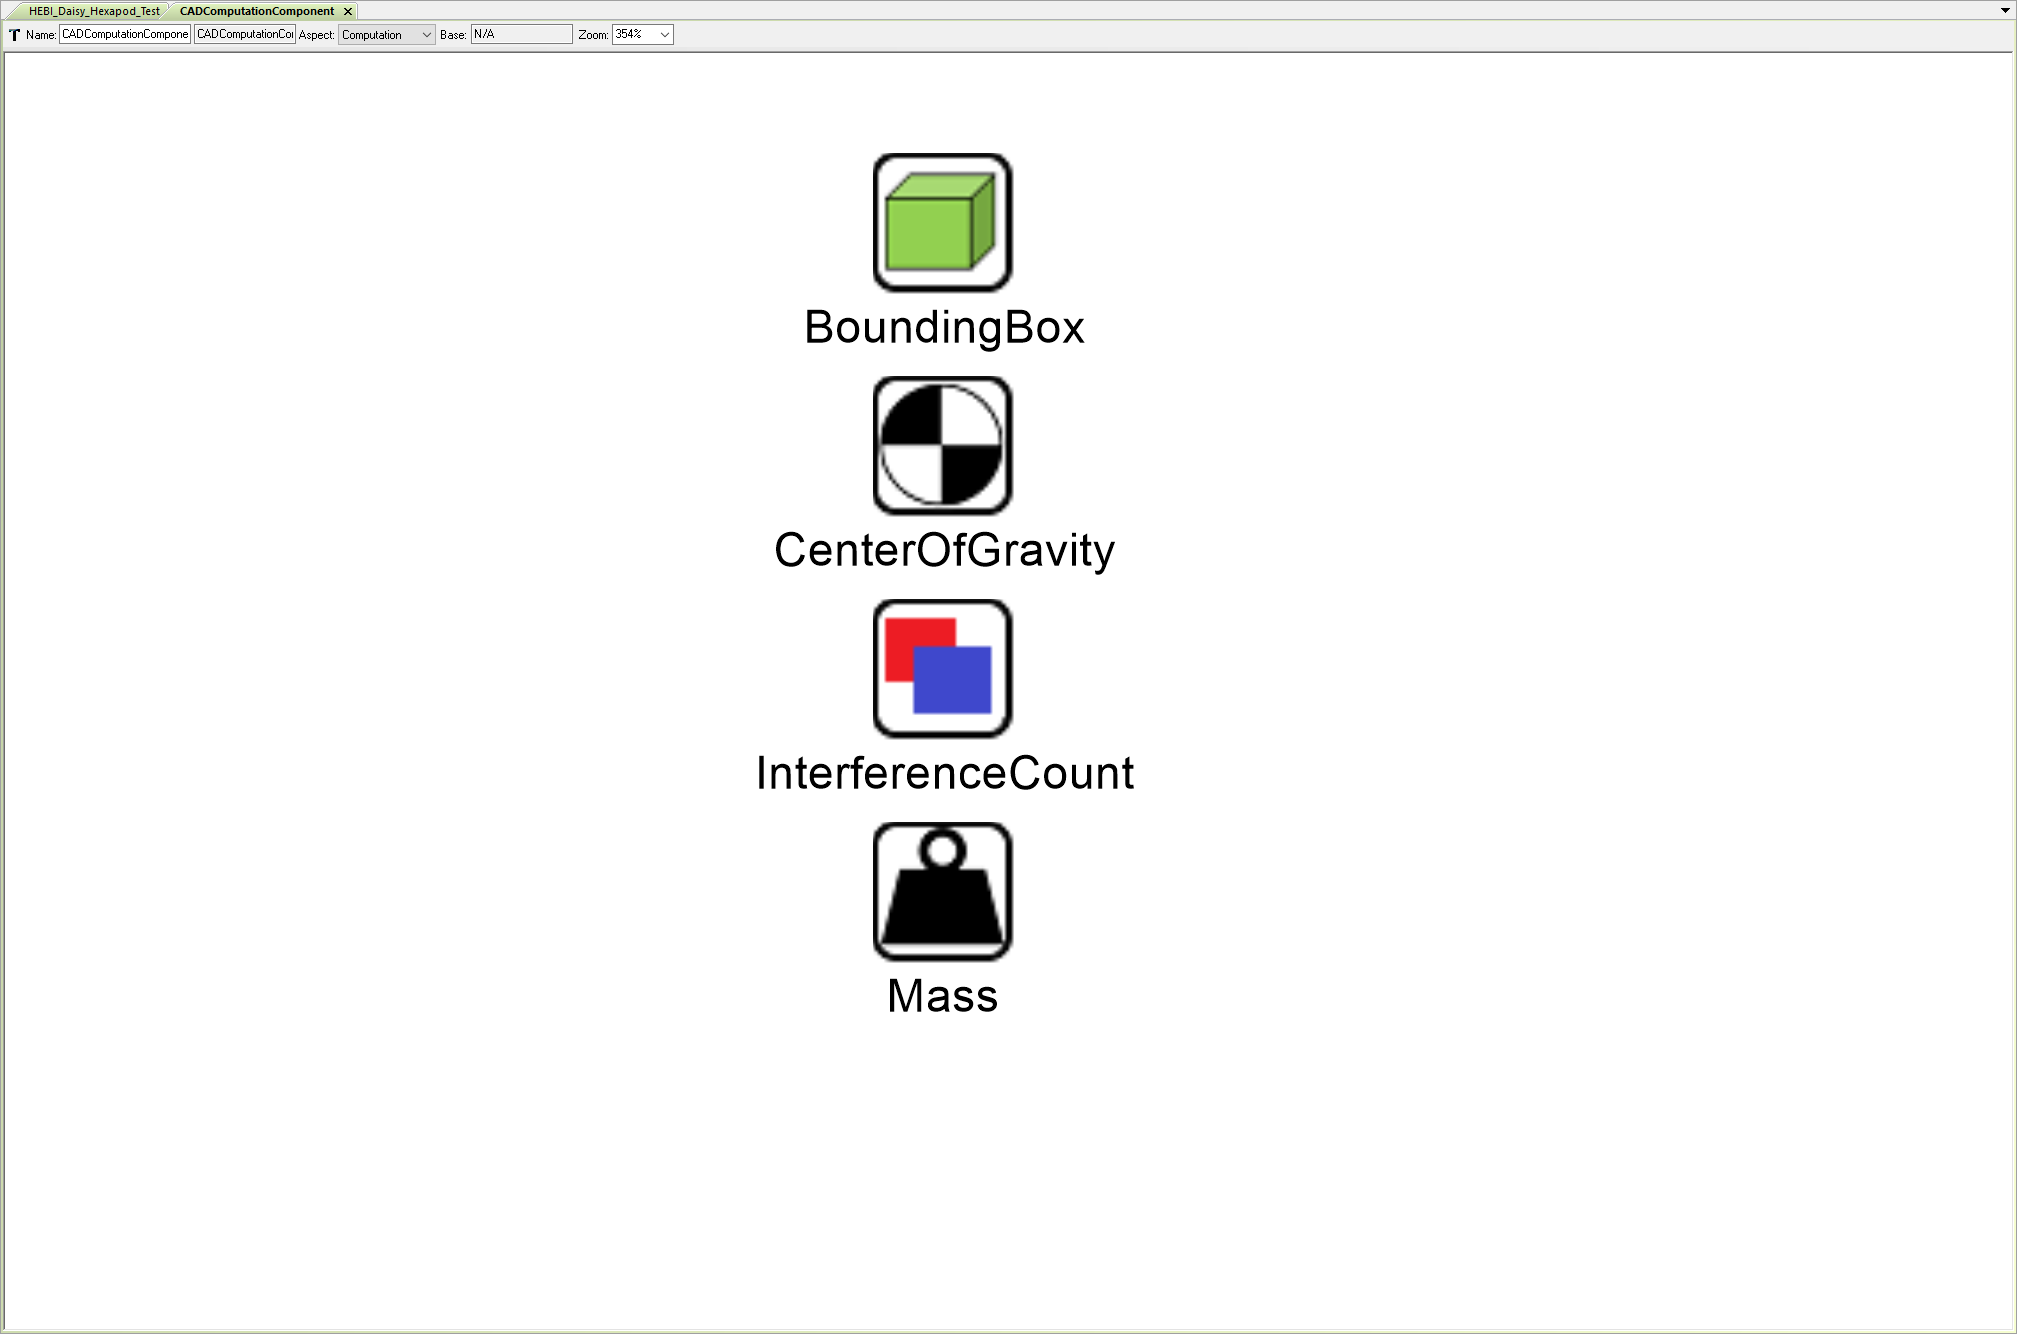
Within the HEBI_Daisy_Hexapod_Test canvas, double left-click on the CADComputationComponent model to edit it.
Locate the Part Browser window. If it is not visible, make sure the option is ticked.
From the Part Browser window, drag the BoundingBox, CenterOfGravity, InterferenceCount, and Mass models onto the CADComputationComponent canvas.
Return to the HEBI_Daisy_Hexapod_Test Test Bench canvas.
Right-click within the HEBI_Daisy_Hexapod_Test Test Bench canvas and select .
Name the Metric BoundingBox, and connect the CADComputationComponent model’s BoundingBox port to it.
Right-click within the HEBI_Daisy_Hexapod_Test Test Bench canvas and select .
Name the Metric CenterOfGravity, and connect the CADComputationComponent model’s CenterOfGravity port to it.
Right-click within the HEBI_Daisy_Hexapod_Test Test Bench canvas and select .
Name the Metric InterferenceCount, and connect the CADComputationComponent model’s InterferenceCount port to it.
Right-click within the HEBI_Daisy_Hexapod_Test Test Bench canvas and select .
Name the Metric Mass, and connect the CADComputationComponent model’s Mass port to it.

Right-click within the HEBI_Daisy_Hexapod_Test Test Bench canvas and select .
Name the Parameter Export_All_Component_Points.
Right-click within the HEBI_Daisy_Hexapod_Test Test Bench canvas and select .
Name the Parameter EXPORT_STEREOLITHOGRAPHY_BINARY.

Run Test Bench
Now its time to run the HEBI_Daisy_Hexapod_Test Test Bench.
With the HEBI_Daisy_Hexapod_Test Test Bench canvas open, left-click on the CyPhy Master Interpreter button.

The CyPhy Master Interpreter window will open. Ensure that Post to META Job Manager is checked and then the HEBI_Daisy_Hexapod configuration is selected. Then Left-click OK.
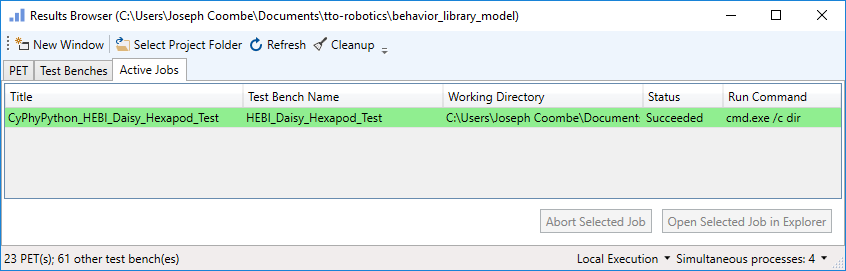
The Job will be listed under the Active Jobs tab of the Results Browser.
While the job is running, it will be colored blue. Once it finishes successfully, it will change to green.
View Generated Artifacts
In the Results Browser window - under the Active Jobs tab, right-click on the completed job and select .
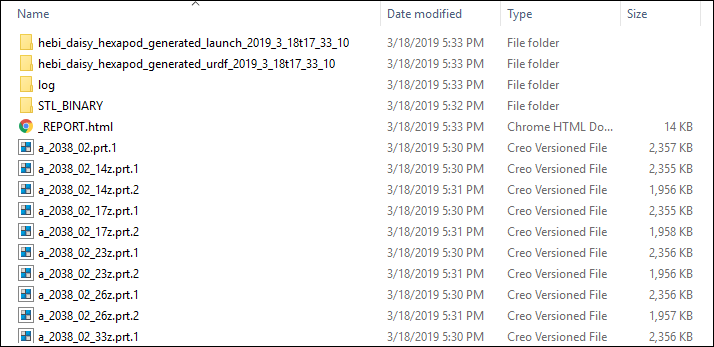
Inside the folder, you should see 2 generated ROS Packages hebi_daisy_hexapod_test_generated_launch_… and hebi_daisy_hexapod_test_generated_urdf_….
You will want to transfer this generated ROS Package over to your Linux machine for the next step in the tutorial.
Congratulations! You have successfully generated a ROS Package containing model-based .launch and .urdf files.