See It In Action
Opening the Model
On Windows/macOS machine/partition:
- Navigate to the
~/tasck/tasck_core_models/directory. - Double-click on the
tasck_core_models.xmefile. - GME will open and display a pop-up ‘Import to new project’ window. Select ‘Create project file’ and click Next >.
- The ‘Save As’ window will open. Click Save to save
tasck_core_models.mgainside thetasck_core_modelsfolder.
Viewing Library
On Windows/macOS machine/partition:
- Within GME, to your right, there should be a ‘GME Browser’ window with a single
RootFolderobject inside. Click on the ‘+’ to expand the root folder. - Left-click on the
+next toA_Behaviorsto view the Behavior Components folder. - Left-click on the
+next toA_Partsto view the Physical Components folder. - Left-click on the
+next toB_SubSystemsto view the SubSystems folder. - Left-click on the
+next toD_DesignSpacesto view the DesignSpaces folder.
Generating Physical Artifacts from Model
On Windows/macOS machine/partition:
Within GME, navigate to
RootFolder>Testing>Examples.Double left-click any of the Example URDF Generation Test Benches in the
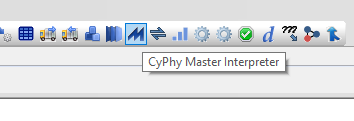
Examplesdirectory.Left-click the CyPhy Master Interpreter button located on the top toolbar.
The ‘CyPhy Master Interpreter’ window will open. Make sure ‘Post to META Job Manager’ is checked and left-click OK.
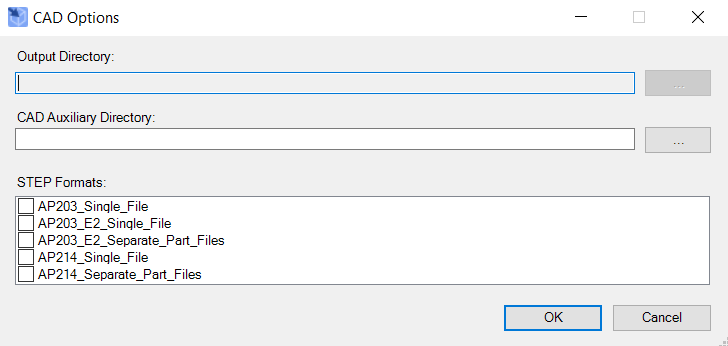
The ‘CAD Options window’ will open. Left-click OK.
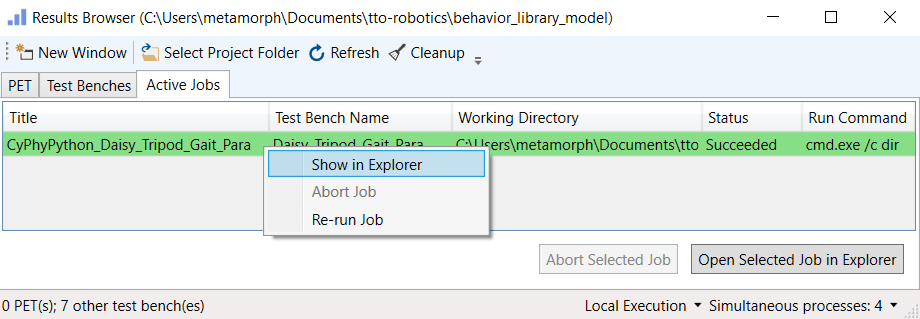
The ‘Results Browser’ window will open. The running TestBench will be listed under the ‘Active Jobs’ tab. Blue means the Master Interpreter is still running, red means the Master Interpreter failed, and green means that the Master Interpreter succeeded.
Once the Test Bench finishes running, right-click the job and select ‘Show in Explorer’ to view the generated artifacts.
Generating Physical+Behavioral Artifacts from Model
On Windows/macOS machine/partition:
Within GME, navigate to
RootFolder>Testing>Examples>02_URDF_Launch_File_Generate>Daisy_Gaits>Daisy_Tripod_Gait_Para.Left-click the CyPhy Master Interpreter button located on the top toolbar.
The ‘CyPhy Master Interpreter’ window will open. Make sure ‘Post to META Job Manager’ is checked and left-click OK.
The ‘CAD Options window’ will open. Uncheck all the STEP Formats and then left-click OK.
The ‘Results Browser’ window will open. The running TestBench will be listed under the ‘Active Jobs’ tab. Blue means the Master Interpreter is still running, red means the Master Interpreter failed, and green means that the Master Interpreter succeeded.
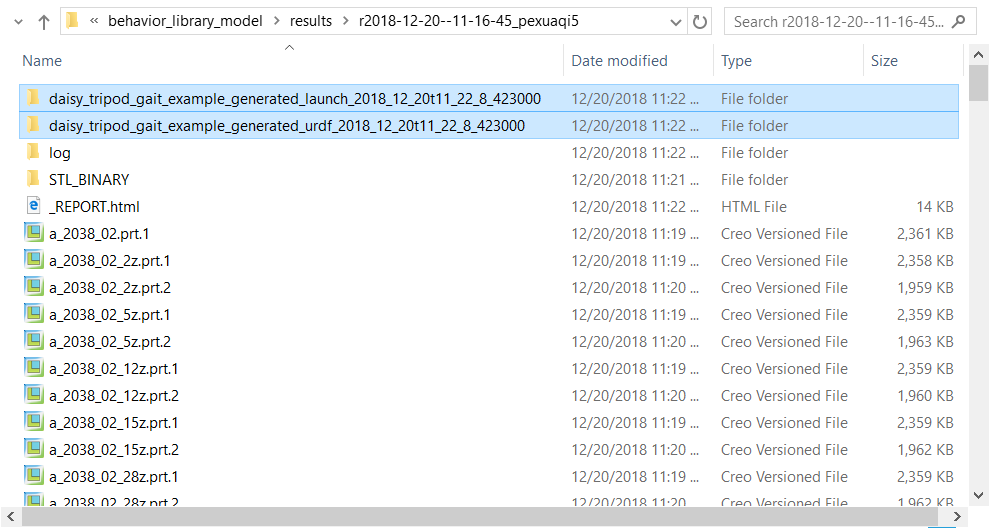
Once the Daisy_Tripod_Gait_Para Test Bench finishes running, right-click the job and select ‘Show in Explorer’ to view the generated artifacts.
Copy the two generated ROS packages over to your Ubuntu 16.04.3 LTS machine/partition (daisy_tripod_gait_example_generated_launch… and daisy_tripod_gait_example_generated_urdf…).
On Ubuntu 16.04.3 LTS machine/partition:
- Open a terminal window and run:
~/tasck/catkin_ws/devel/setup.bash
roslaunch daisy_tripod_gait_example_generated_launch-... run_robot_simulation.launch
Hit ‘play’ button on bottom bar in Gazebo GUI when it appears - ROS time is slaved to Gazebo simulation time.
One of the terminal windows will prompt you to enter keystrokes to control the Daisy robot (once it finishes standing up):
W - forward
X - reverse
A - strafe left
D - strafe right
Q - rotate left
E - rotate right
S - stop